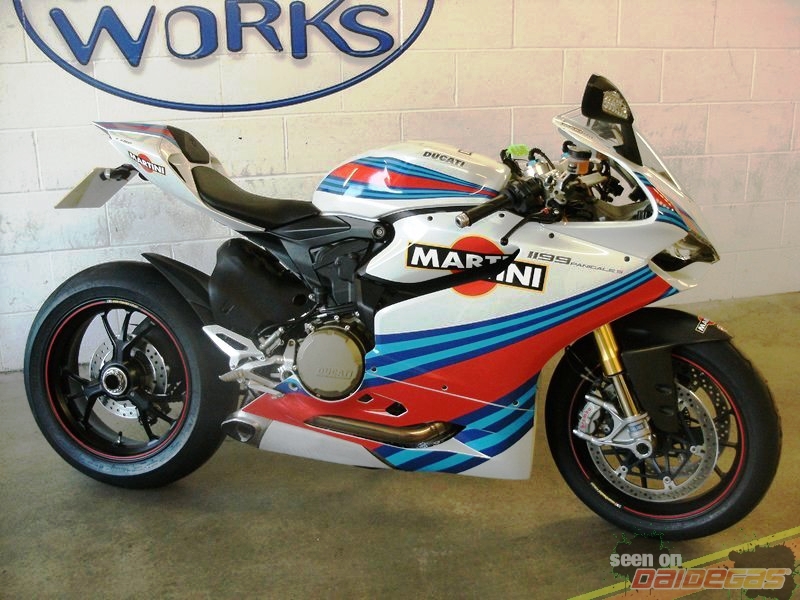
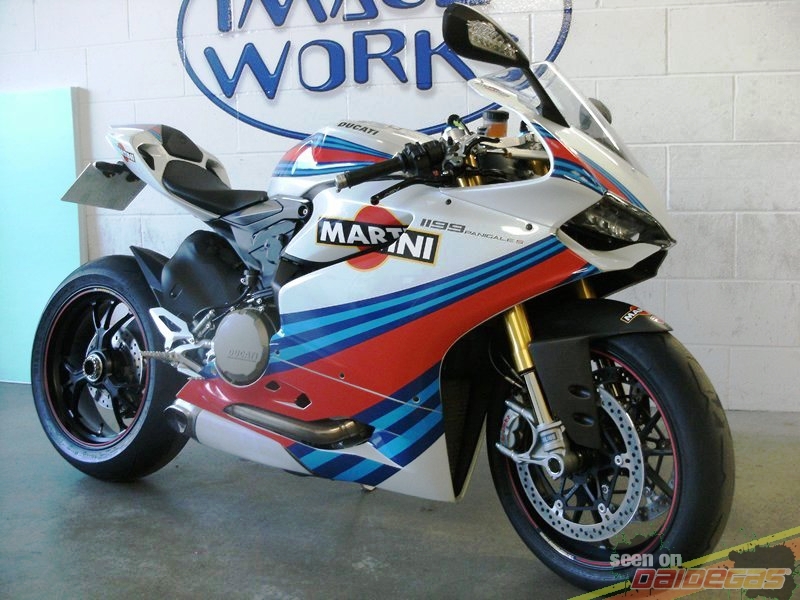
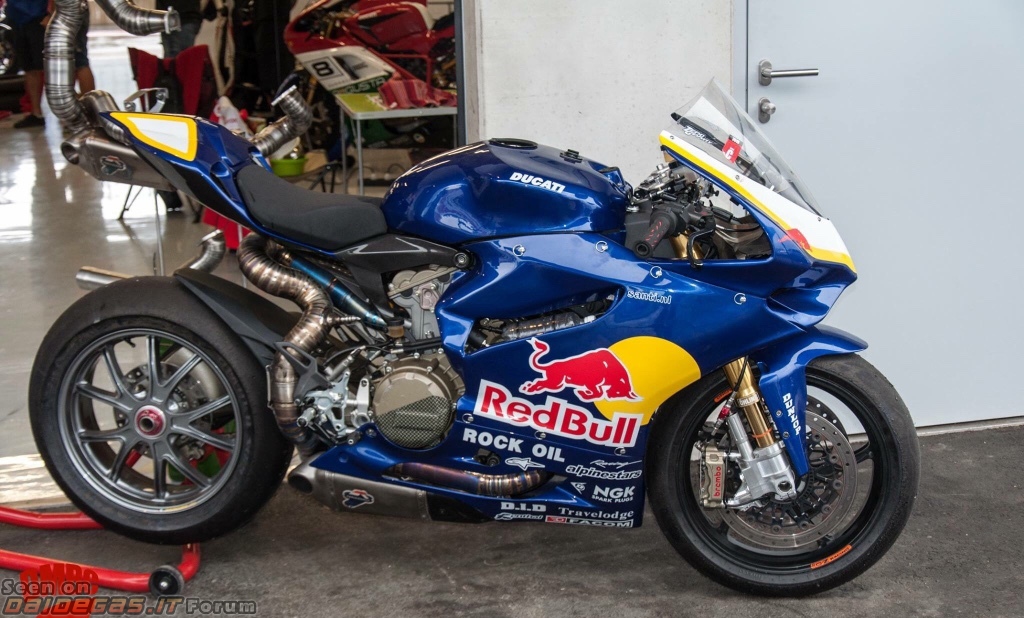
There’s a lot of nice looking bikes in this post. If you’re considering painting, striping or adding graphics to your bike and you’re unsure exactly what you want or what it might look like when finished, try the following: (Keep in mind that this will work best with simple design ideas for lettering, striping, etc. You’ll have to go a different route for more elaborate ideas).
1. Download a free photo editing program (I use Photoscape).
2. Take a picture(s) of your bike.
3. Import the picture into the program and edit. You can add stripes, graphics, change colors, etc. Zoom in on the area where you’re editing for more precision. Play around with different ideas until you come up with something that you like. Save the image and show it to the technician at the paint shop so he’ll know exactly what look you’re looking for in the finished product. If you came up with a nice scheme but you’re still uncertain as to how it will look once applied to your bike, continue on:
4. Go to an art supply store or craft center and pick up some vinyl adhesive-backed sheets. They’re available in a large assortment of different colors. Stencils for lettering or numbering are also available in different styles and sizes.
5. Transfer the idea you came up with to vinyl. A straight edge, utility knife, scissors, pen or pencil and a steady hand should be all that you need.
6. Cut out the stripes, numbers, letters, graphics, etc.
7. Using a soapy solution of water mixed with dishwashing detergent wet the area where the vinyl is to be applied.
8. Remove a small amount of the paper on the back of the vinyl exposing the adhesive backing and position the vinyl on the bike. The soapy solution will allow the position of the vinyl to be shifted.
9. Once positioned properly use a small rag to press, smooth and dry the applied vinyl. Work any air bubbles out from the center outwards. A credit card can be used to work out stubborn air bubbles.
10. Continue to wet the bike, expose the adhesive backing and apply the vinyl until finished.
11. Using your rag press and wipe dry several times working from the center outwards in all directions and using care so as not to shift the position of the vinyl.
If you’re satisfied that you’ve come up with a winner you can take the bike to a paint shop as is and tell them to replicate your design. If you’re still uncertain you can run with it for a while until you’ve made up your mind. If your design was simple and well-executed you may choose to just stick to the vinyl. The vinyl can always be easily removed; it won’t leave a sticky mess.
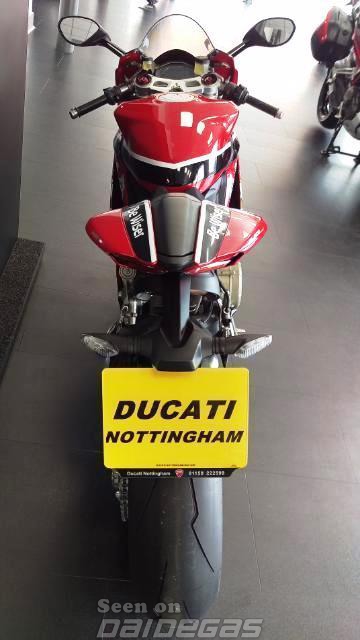
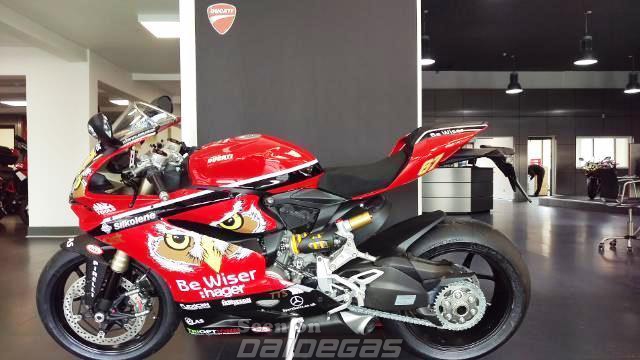
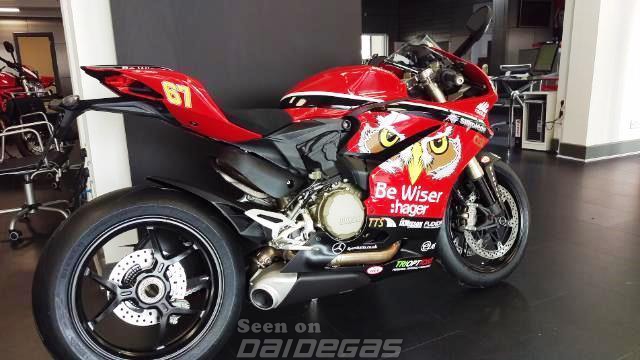
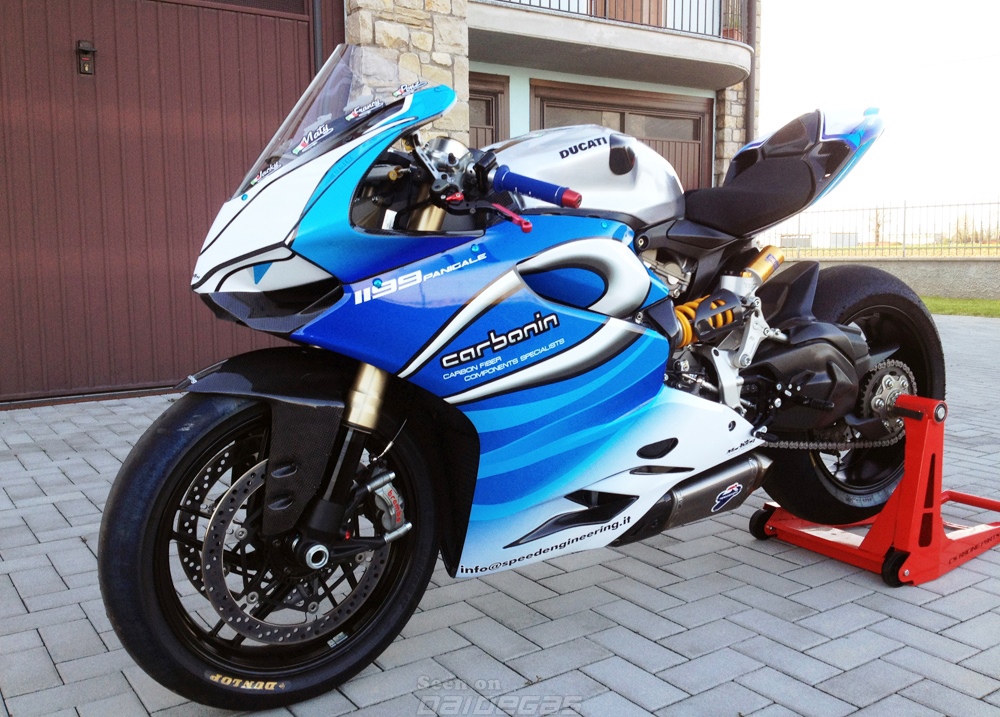
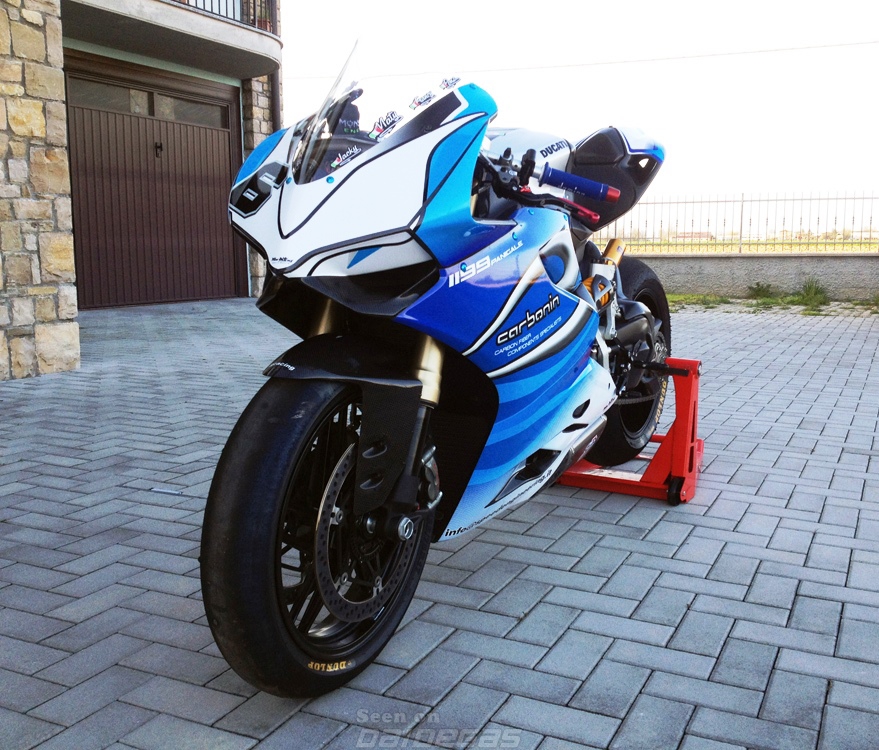
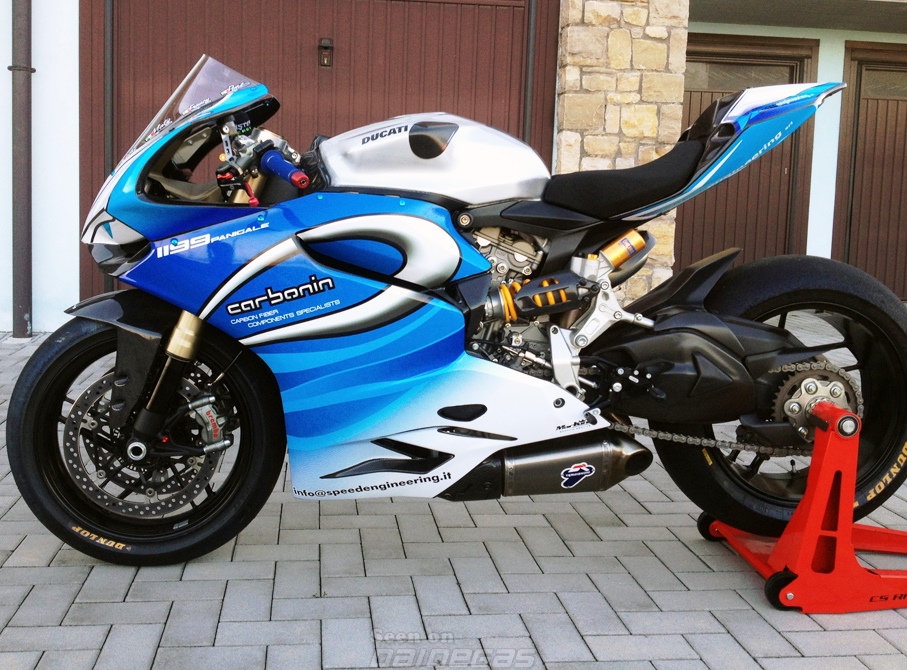
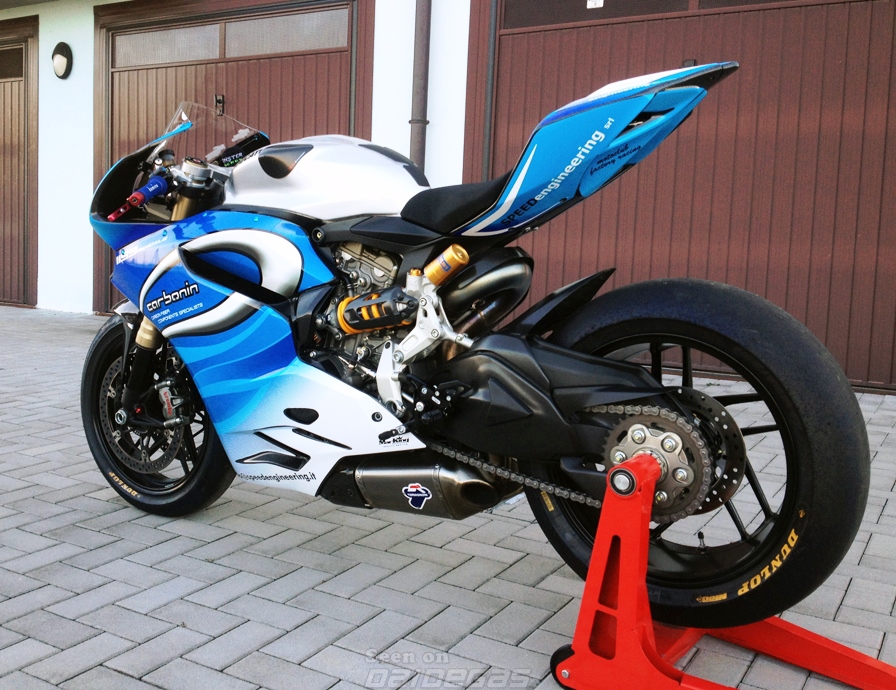
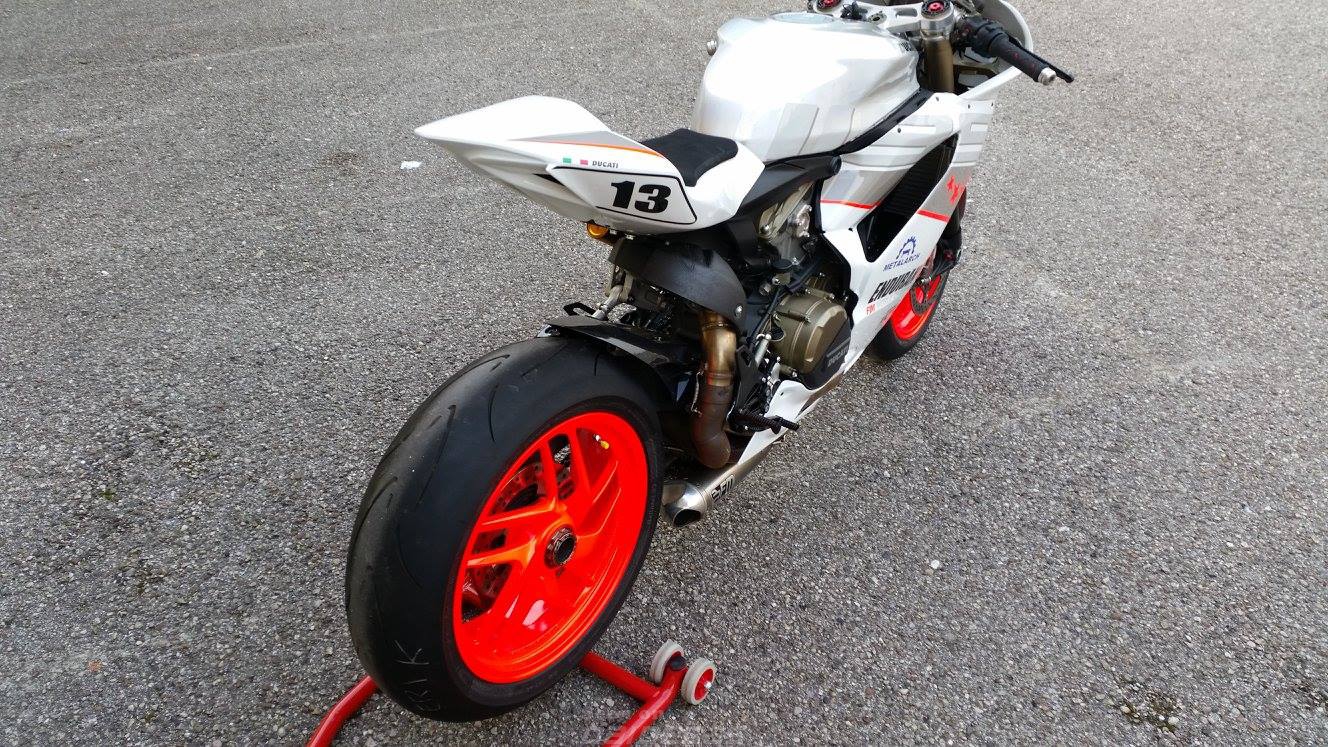
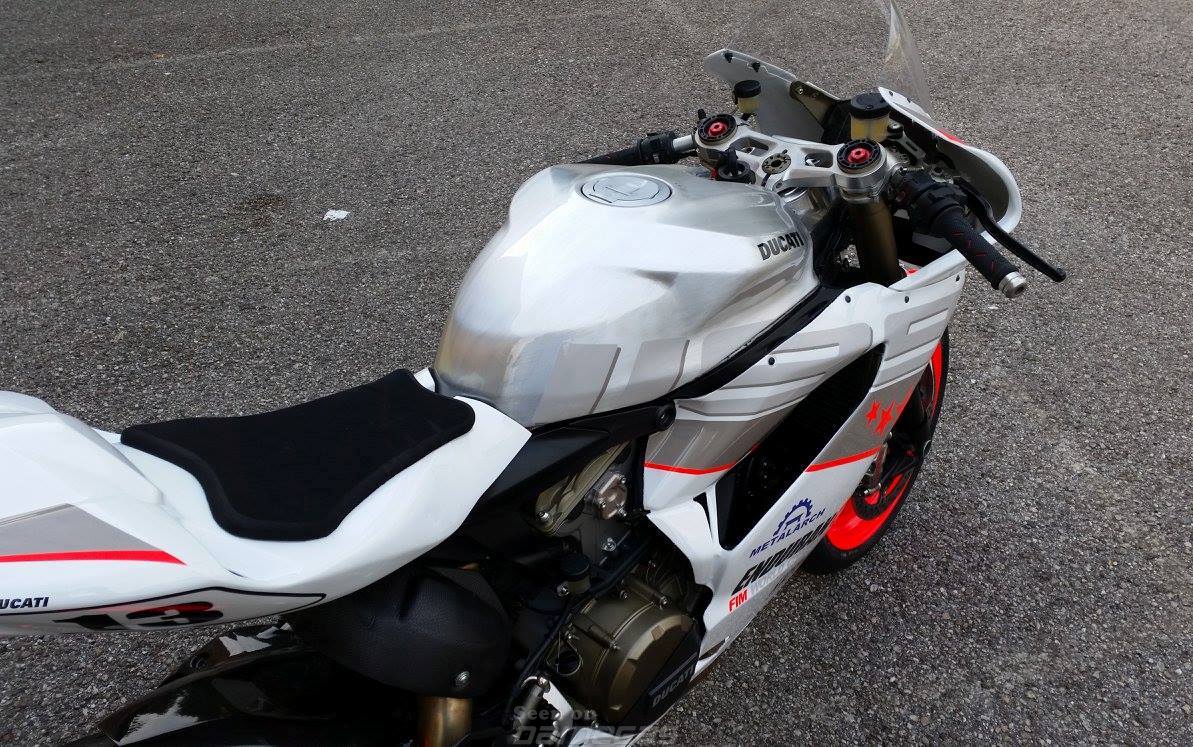
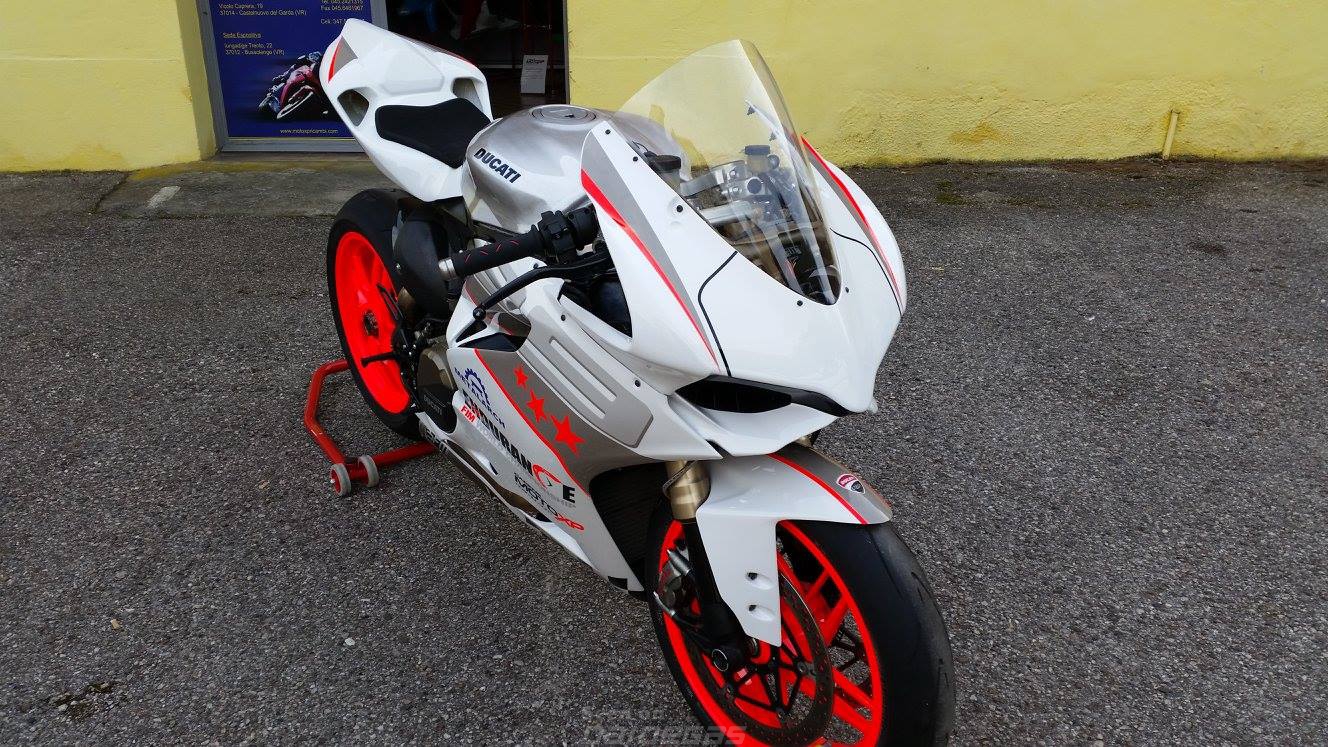
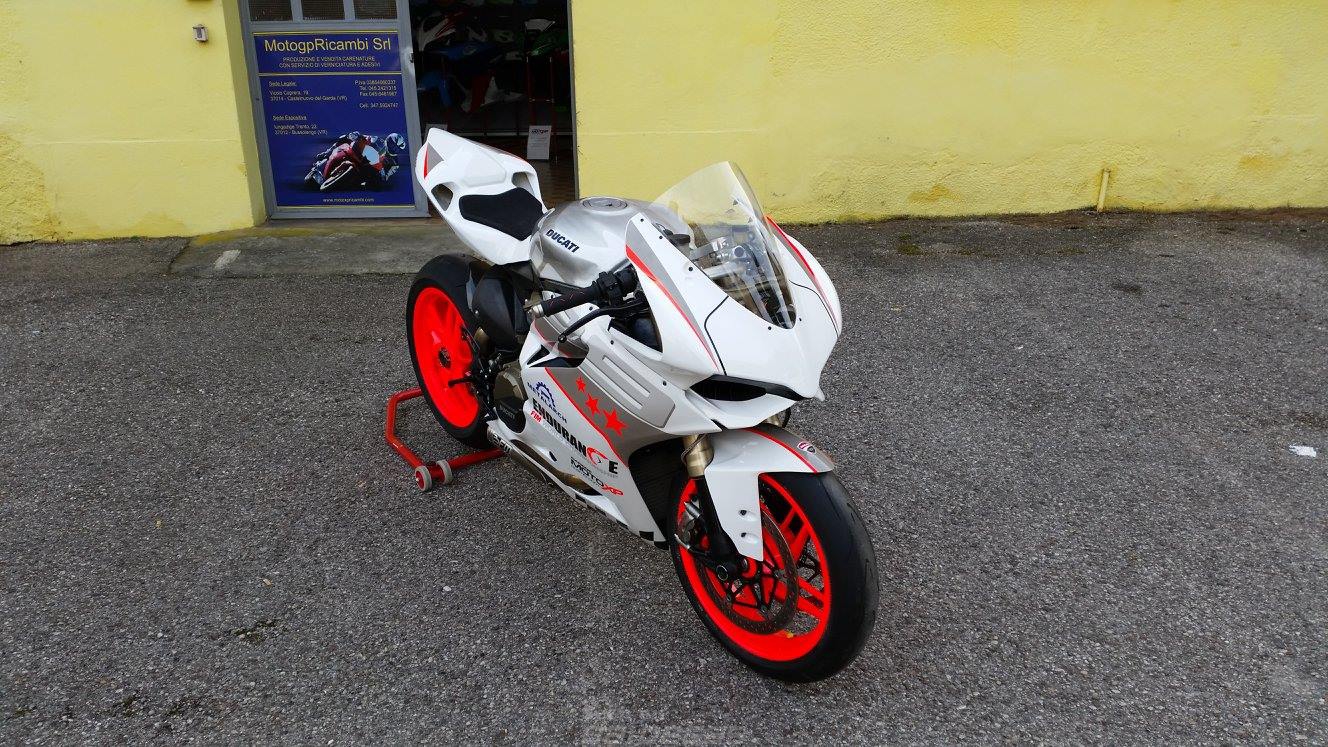
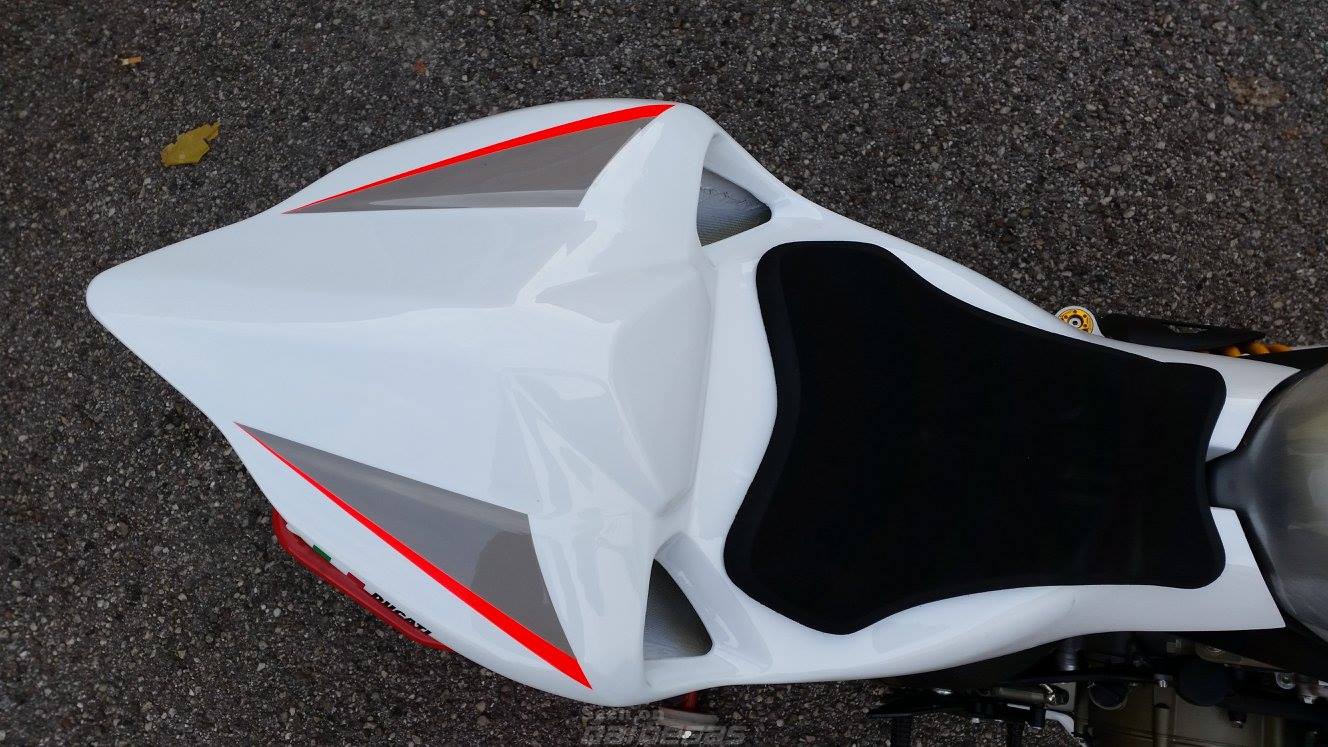
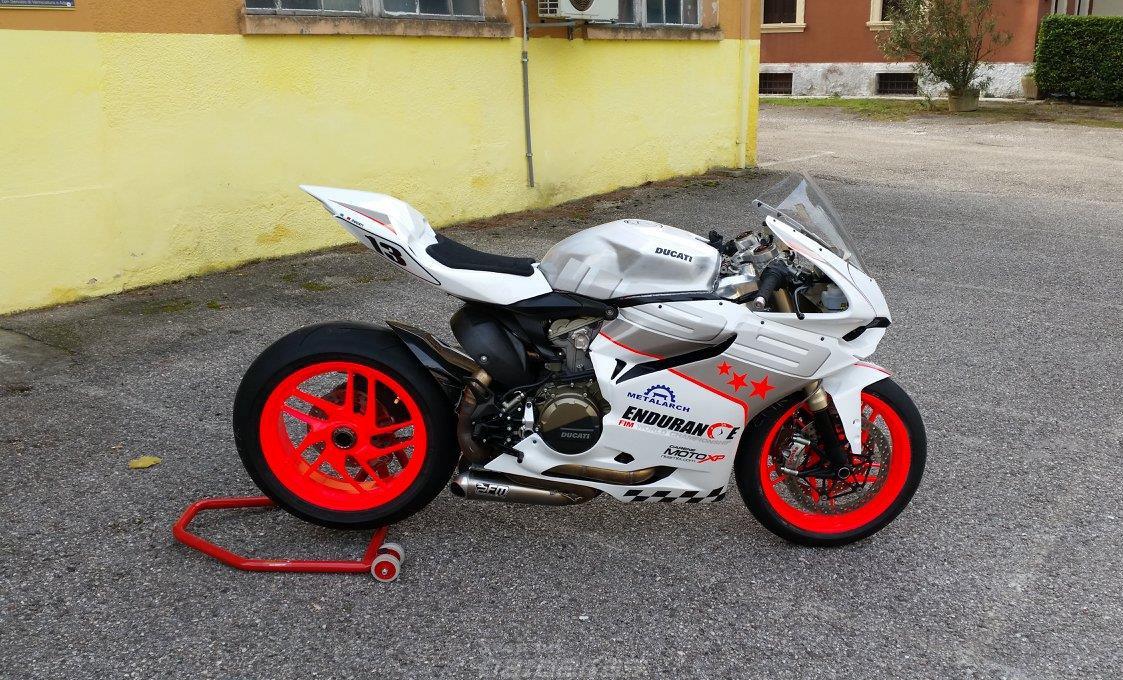
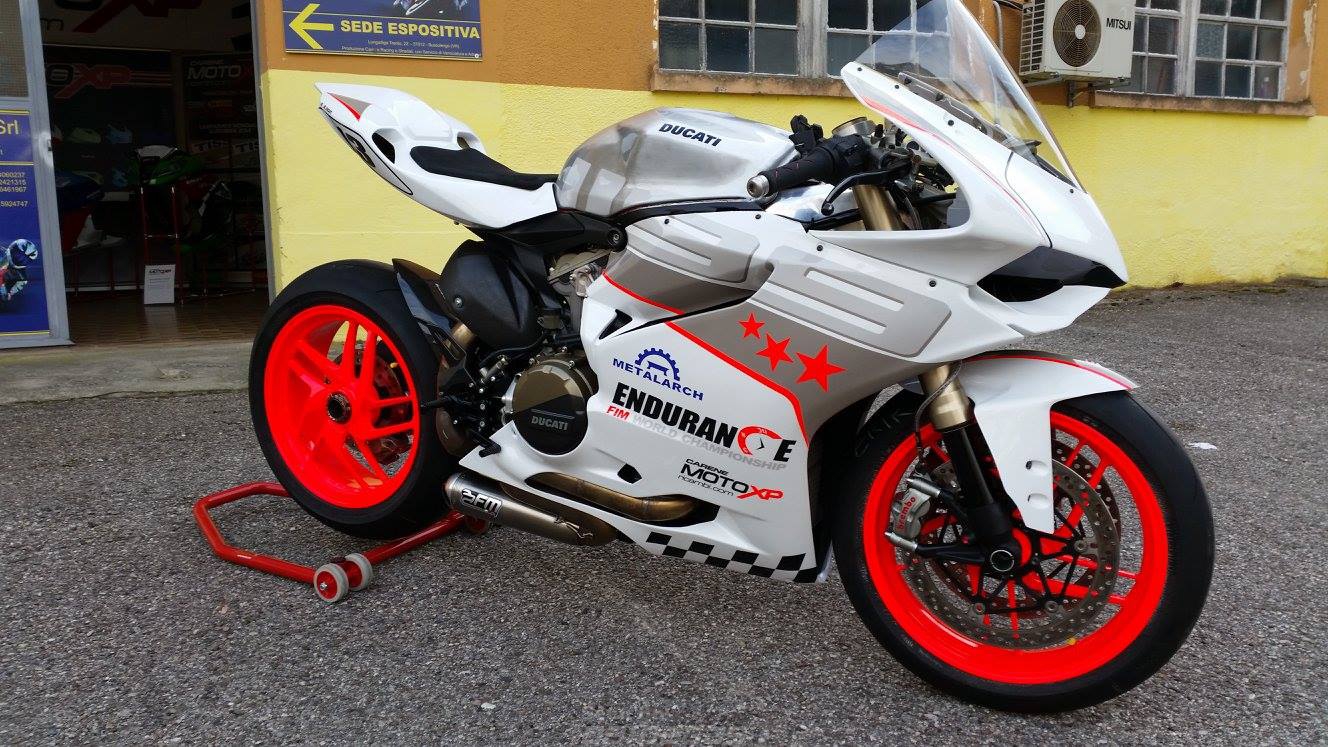
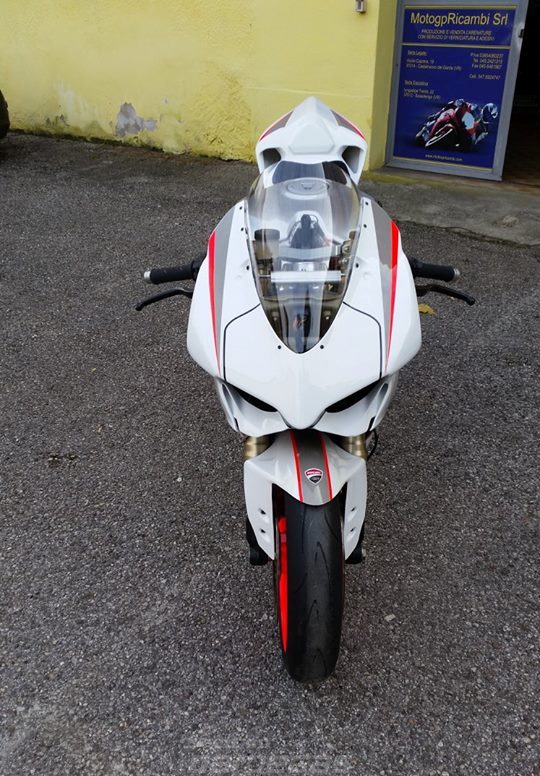
Your idea can be as simple or as involved as you like; it’s simply a matter of personal preference. I just wanted something clean and simple on my bike… something to break up the red on the fairings and differentiate my bike from others.


") 100% carbon nose, left DUCATI and the air ducts carbon...
100% carbon nose, left DUCATI and the air ducts carbon...